Every month RALNA provides a legislative update and this tutorial walks you through how to add those step-by-step.
Step 1: Login to RALNA Website
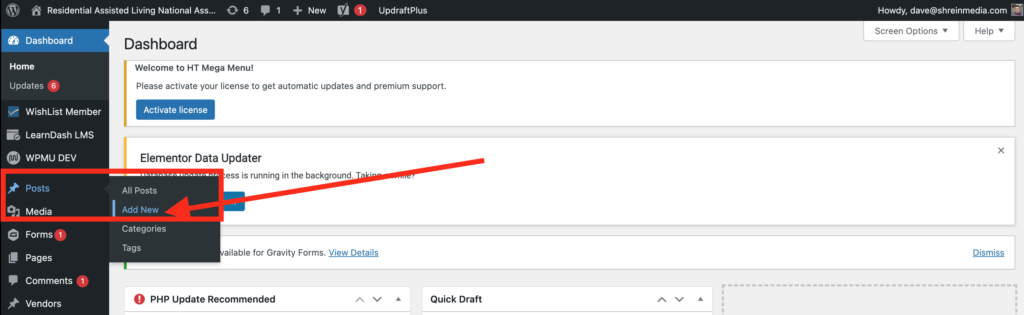
Visit ralna.org/wp-admin/ and log in. Once you’re logged in navigate to the Posts > Add New.
This will load a new entry to add your update.
Step 2: Add Title and Content
You will be provided with the title and content from RALNA staff. Add the content as shared in the document, making sure any links are carried over, too.

Step 3: Change Post Format to Add Video
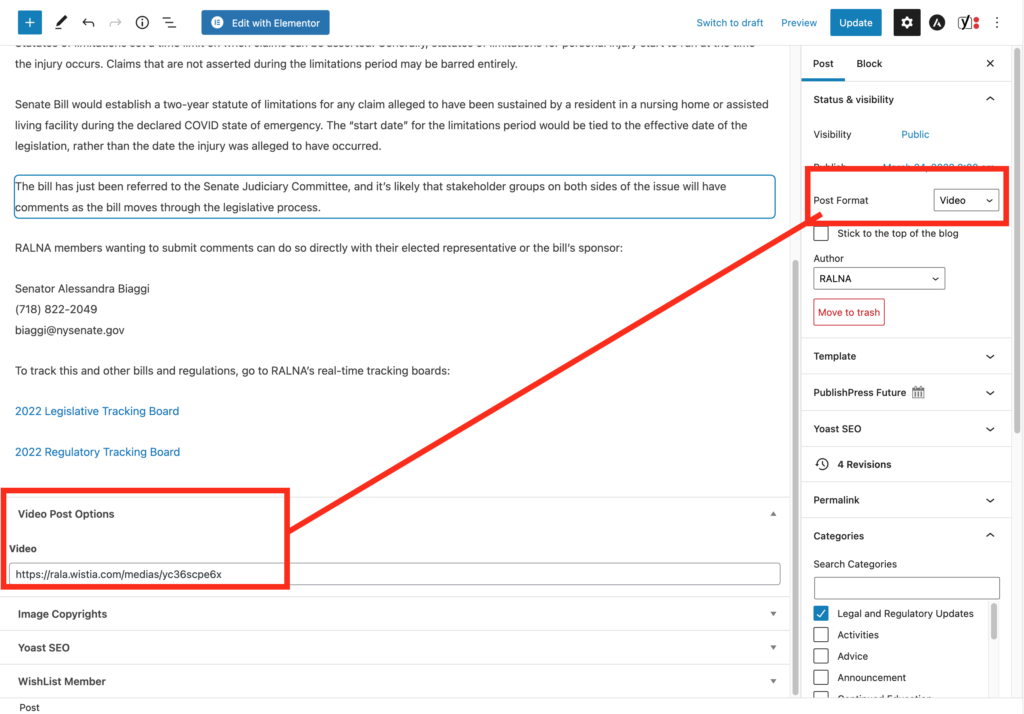
RALNA Legislative Updates are almost always accompanied with a video. In order to add a video, change the post format in the right column to Video. Once that happens a new field will appear — Video… add the URL for the video into the field.
Step 4: Add Category and Images
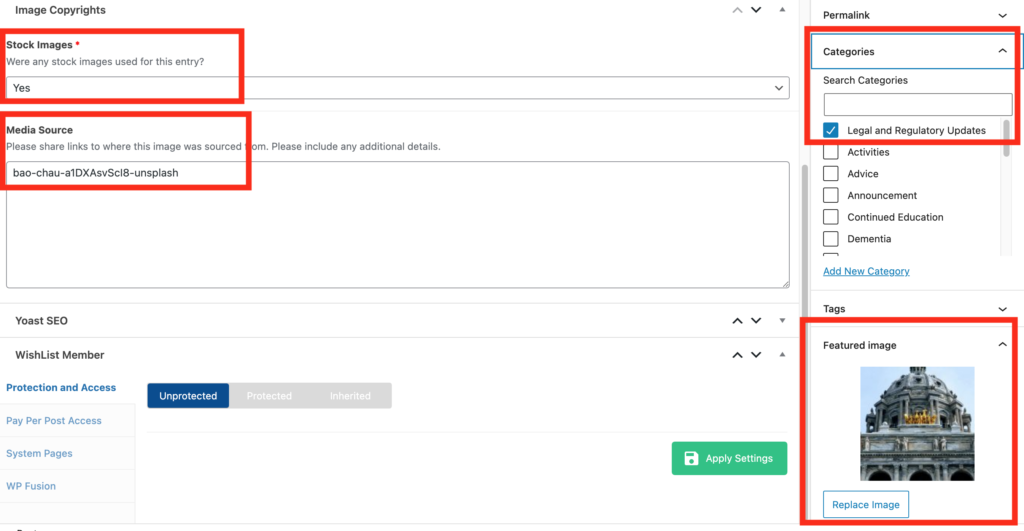
These entries need to be correctly categorized. In the right column you’ll see a tab called Categories. You’ll want to expand that tab and tick the Legal and Regulatory Updates box.
You will also need to set a featured image. We like using unsplash.com to find relevant images. We must have the licenses to use images — unsplash.com is free images and royalty free rights. When you find an image on unsplash, add the URL to media source so we have reference in the event of any legal challenges.
Step 5: Publish and Review
Once you’ve completed all the steps you’re ready to publish your entry.
- Add Title
- Add Content
- Assign Legal and Legislative Category
- Update Post Format
- Add Video Link
- Add Featured Image
- Share link to Unsplash for media sources
Look for the Publish button on the upper right hand side. Click publish and then view the entry on the front end of the website.